how to make a quail call
How to Make a Quail Call
It’s really hard to buy my friends meaningful gifts. A nice bottle of booze and a cigar are usually in the cards, but this year, I wanted to get my buddy something meaningful. I wanted to make something by hand and I wanted it to feel like a functional heirloom piece. I decided to make a quail call from some nice dark walnut, and filmed the process. Here’s how to make a quail call, with hand tools, at home – a perfect DIY gift.
Tools and Materials Needed:
For this project, I decided to only use hand tools. While my workshop is currently sitting in my buddy’s garage, none were set up. However, making a quail call is simple enough and can be accomplished with tools found in a miscellaneous drawer.
Materials:
- A piece of wood 0.5-in x 2-in or so
- A rubber band
- 0.5-in wood screws
- Boiled Linseed Oil
- A bunch of sand paper (60 to 3000 grit in a plastic box!)
Tools:

How to Make a Quail Call Using Hand Tools
Skip to the video below if you just want to watch me do it, but I’ll try to make it simple and sweet.
First, use the saw to cut your pieces of wood so that you have two pieces measuring 0.5-in x 1-in x 3-in.
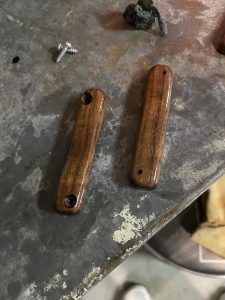
Drill a hole relative to your wood screws on both sides of your pieces of wood, as to bind them and make one piece. Make sure to offset these holes so that a rubber band can be placed in the middle. Recess the drilled holes so that the wood screws will sit flush inside.
Secure with the wood screws and then sand to shape while bound.

Once sanded to shape, unscrew to disassemble your two pieces of wood. Carve a small channel in the center of each piece. It really doesn’t need to be deep. Shallow on both sides worked for me.
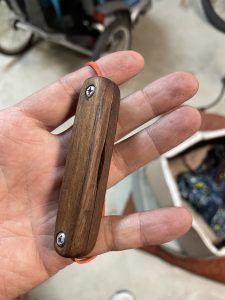
Secure a rubber band between the two pieces and screw them down enough to be able to start tightening the band. From here, tighter produces a higher pitch, and more slack produces a lower pitch.
