DIY Christmas Gift Inlayed Checkers Board
DIY Christmas Gift – Checkers Board
My friends and I decided that we are doing a DIY Christmas gift exchange this year, Secret Santa style. Because the group is starting to breed and buy up California shacks, there wasn’t as much disposable income to shower each other with $50 gifts as we’d normally do. The rules this year were simple: you can’t buy anything. While watching Alone Season 4 (surprise!), I noticed that two contestants, Brooke and Dave Whipple, had spent some time making a bushcraft DIY checkers board to keep themselves entertained. I figured I could take on a more colorful version of that for the family man whose name I drew.
Materials and Tools Used:
- Plywood
- 1×1 square dowel
- An oak branch that fell in my neighborhood
- Basic acrylic paint found from under my sink
- Wood Glue
- Dixie Cups for mixing
- Popsicle sticks for mixing
- A food scale for measuring
- Alumilite RC3 leftover from my DIY knife handle
- Lacquer or clear coat
- Sand paper
- A pickle Jar
- Mityvac Brake Bleeder (as a vacuum)
- Rockwell Blade Runner
The tools here are all pretty optional. If you were hard pressed and didn’t have an automatic saw on hand, you could make this with a SAK Camper, or anything that functions as a hand saw.
Making my DIY Christmas Gift
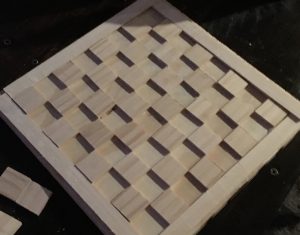
I started the project with a piece of plywood and cut the 1×1 dowel into 1/4-in slices. A Checkers board is 8×8 but I only needed half of the pieces for my plan. with 32-slivers cut, I started gluing pieces down in the proper locations, leaving an empty slot between my playing squares
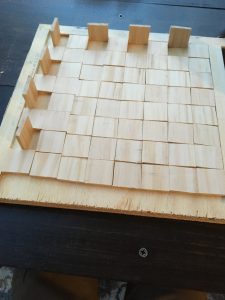
Once the pieces were glued, I cut strips of dowel to become boarders to my board
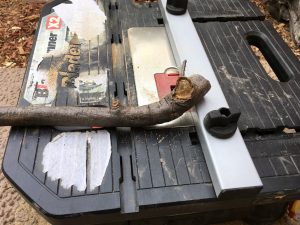
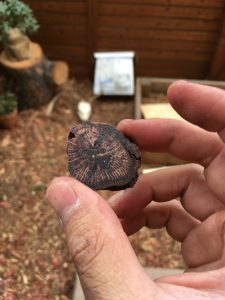
While I was walking my dog around the neighborhood, I found a branch from an old oak that fell. This sparked the idea of using branch sections as playing pieces as well as filling in my recessed playing squares.
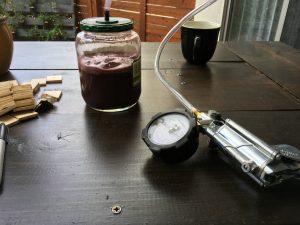
To add some flare to my board decor, I put together a vacuum jar system with the brake bleeder and filled it with a water and acrylic paint mixture. I then added 32 cut sections of an oak branch and piled small rocks to keep the wood submerged. Then, I created vacuum within the jar to pull in the dyed mixture.
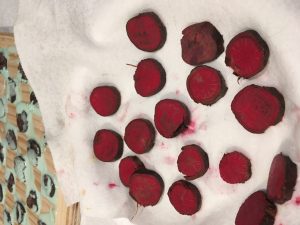
After a few hours of soaking under vacuum, I pulled the pieces out and put them in a jerky dehydrator to speed up the drying process.
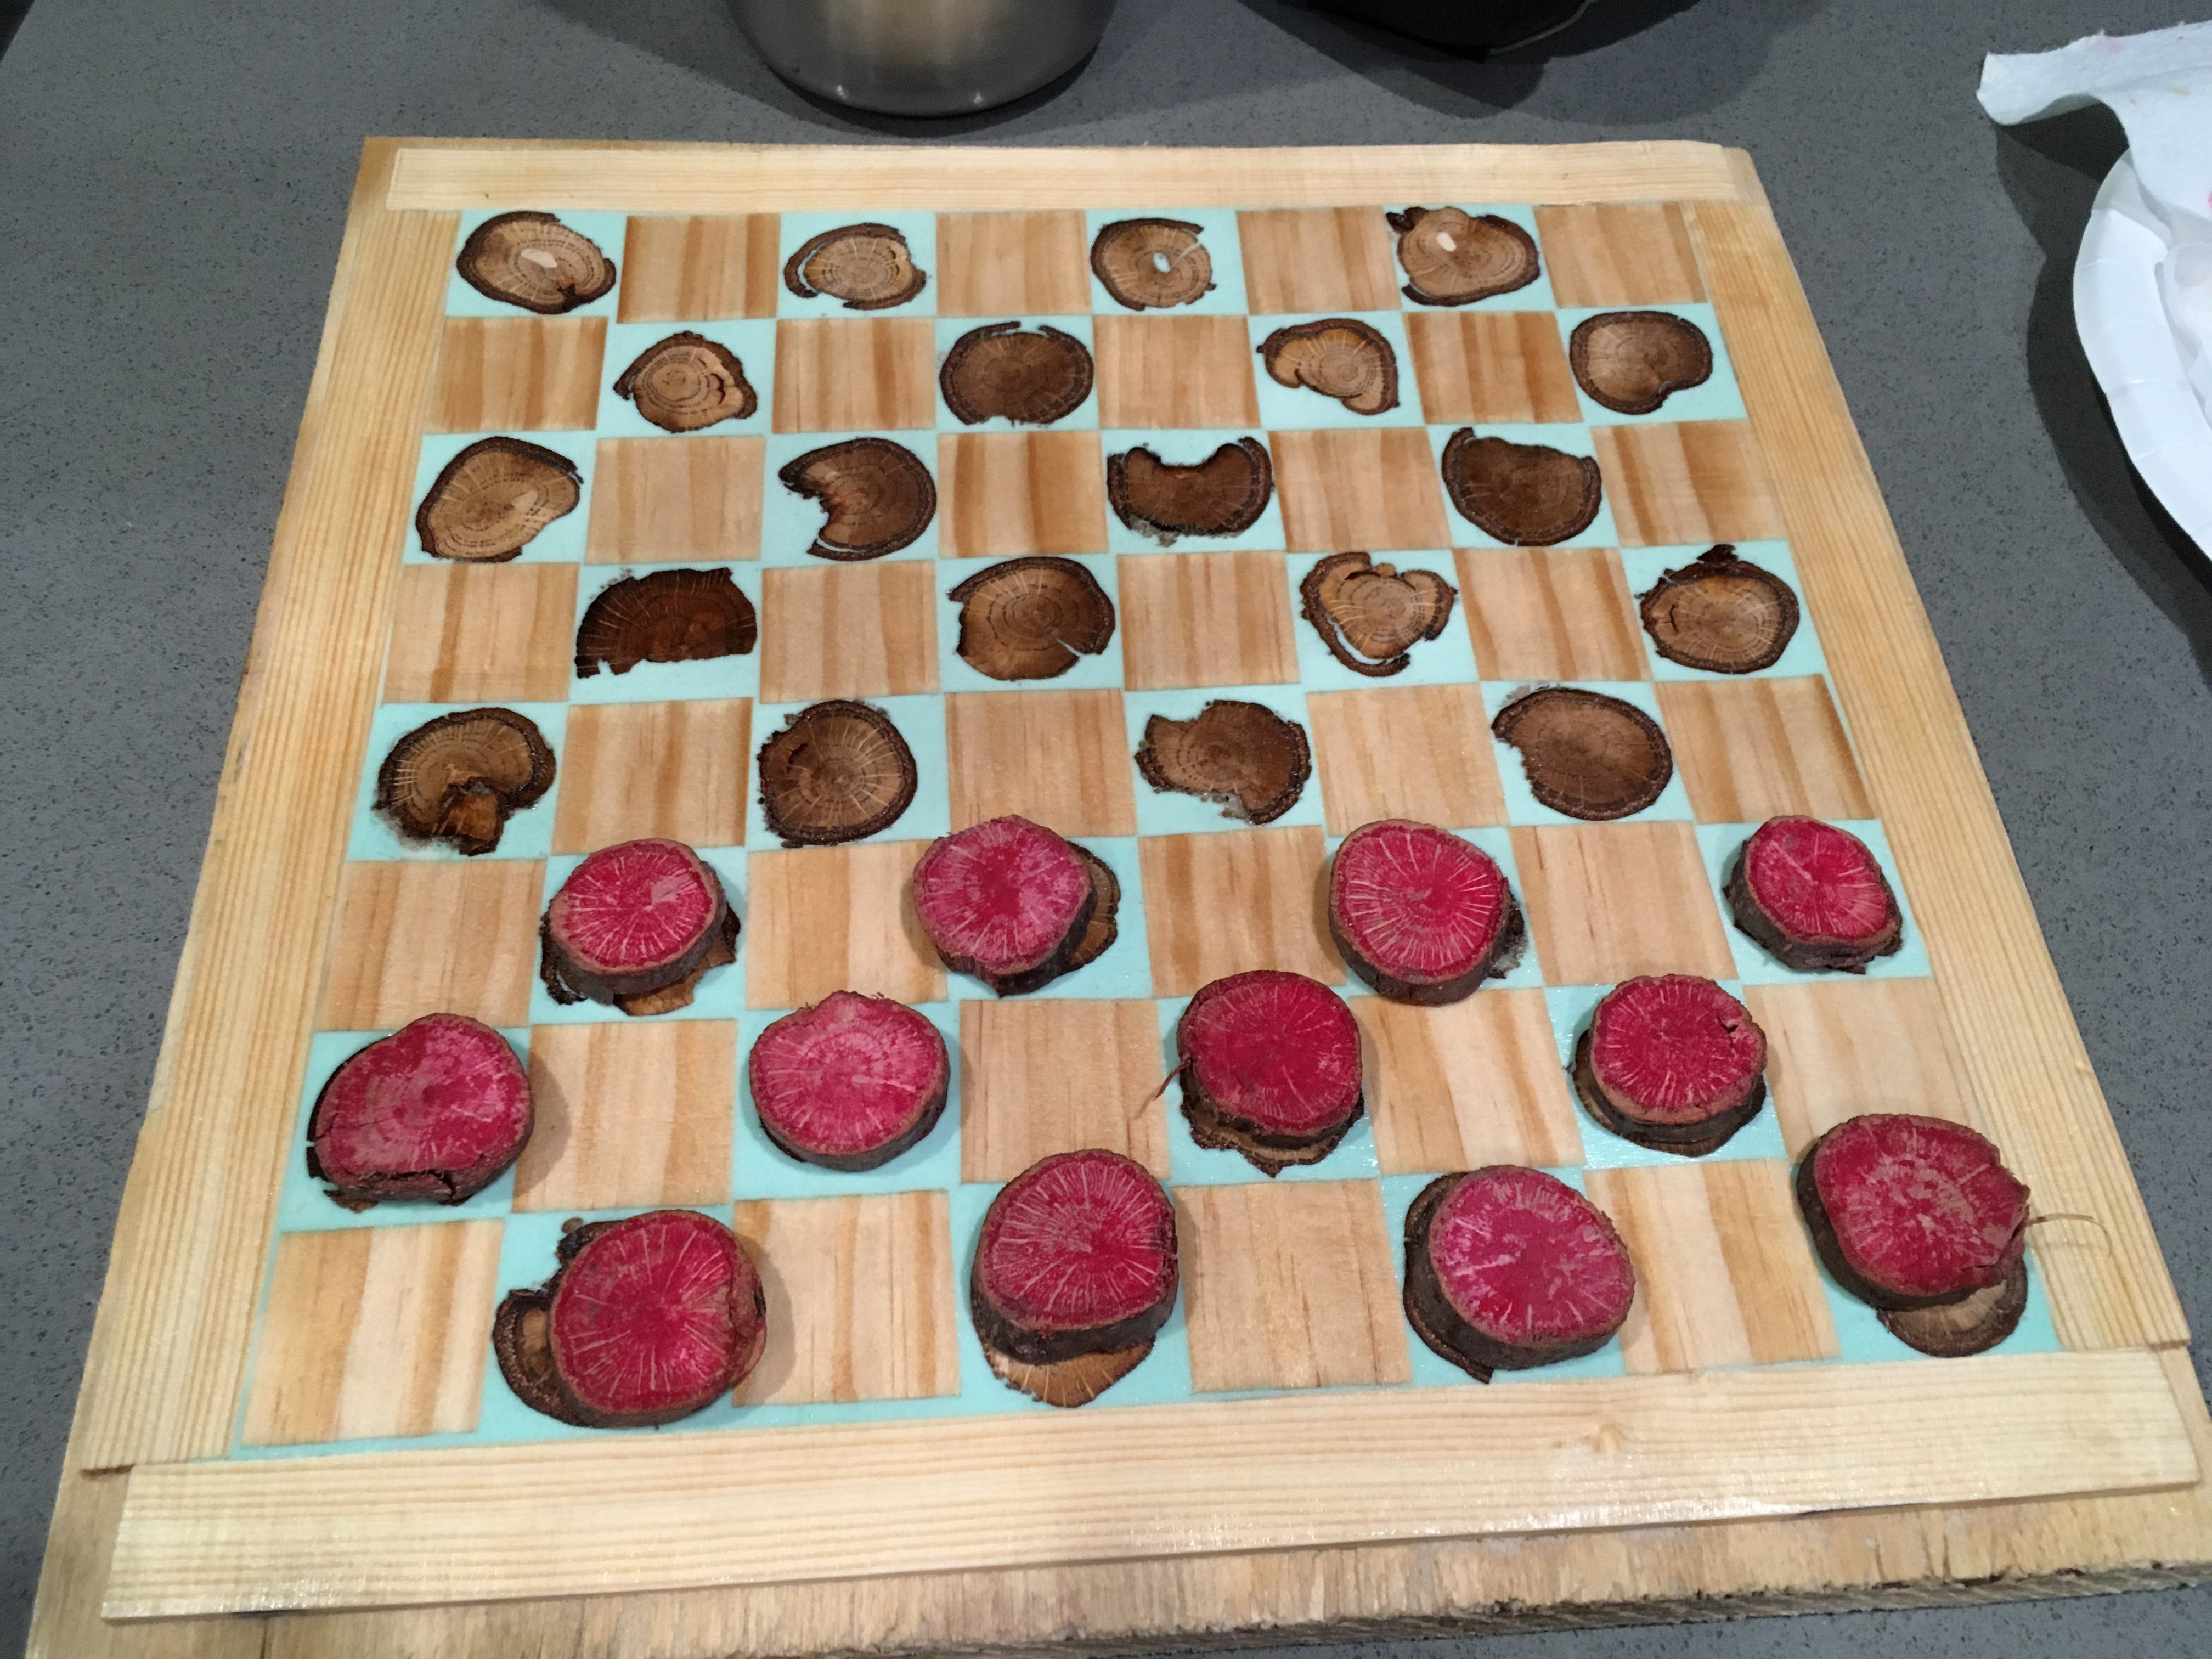
I started my red playing pieces under vacuum the same way
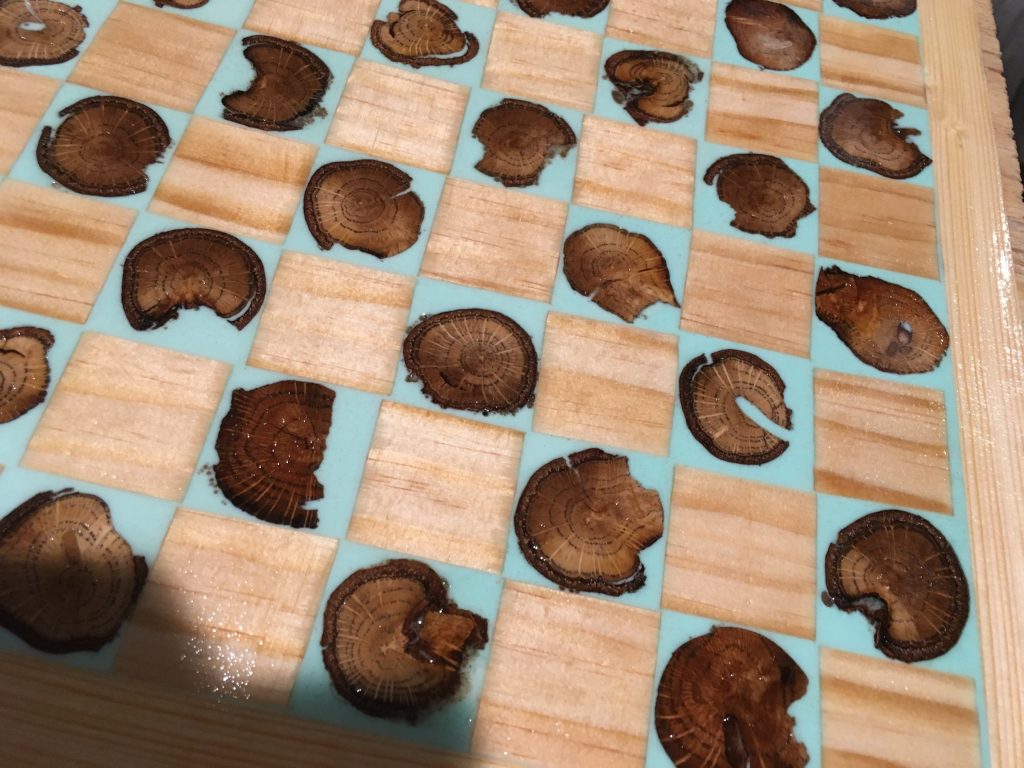
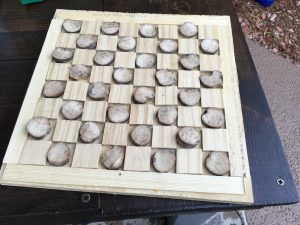
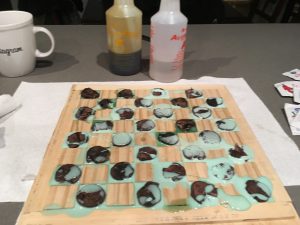
Once dry, the pieces are placed in the recessed playing squares. I added some pigment to the Alumilite RC3 and over-poured to fill the gaps. I suggest mixing the Alumilite in small batches so that you’re not wasting too much from the quick-drying reaction RC3 has. I was pouring ~10-15 grams of the A and B mixtures to start (20-30 grams of solution), then reducing my pours to 14 grams of solution (7 grams of each part).
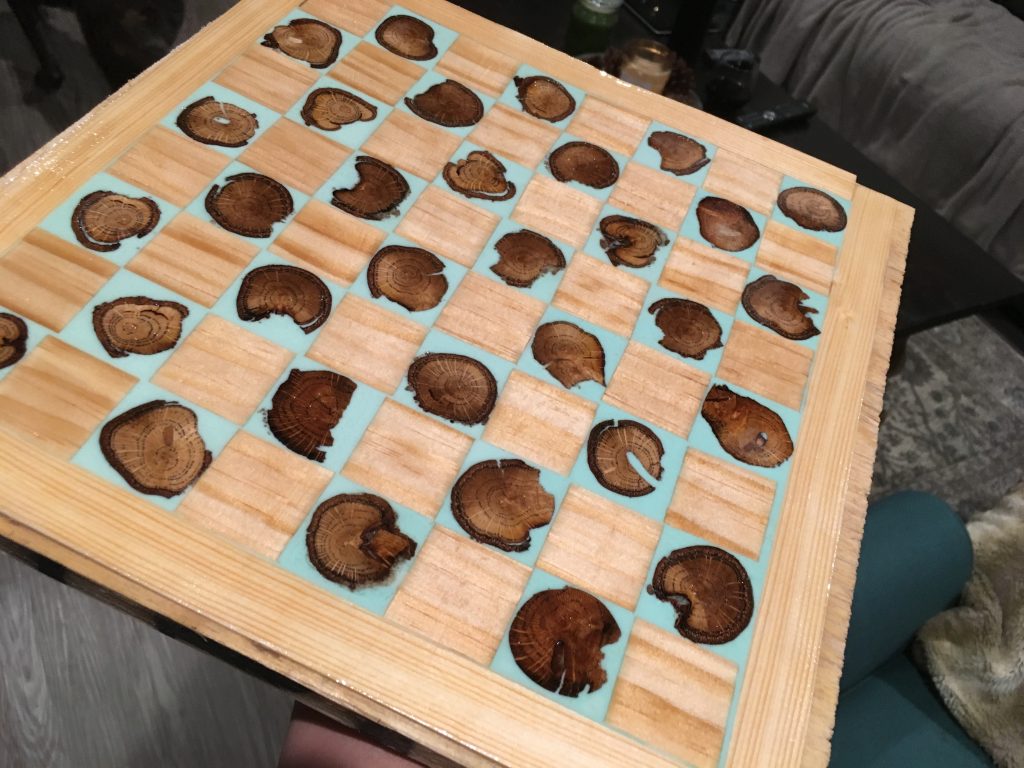
While Alumilite is dry to the touch in minutes, it is suggested to leave it be for a few days. I gave it a 24-hour cycle before sanding. The idea here is to sand everything flush.
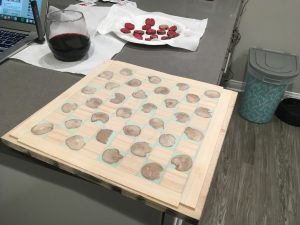
Once flush, I put a coat of clear on it and sanded again for a more finished look to my DIY Christmas gift.