Knifemaking: How to Rehandle a Knife
Last updated on May 5th, 2019 at 11:23 pm
Getting into knife making isn’t all that difficult. Not everyone has the space or access to forge a blade from a ball bearing, but anyone should be able to rehandle a knife.
The first step a knife maker will take is generally buying a blank and putting a handle on it. I’ve done an alumilite casting knife handle previously, but the task can be made much simpler. The results based on material selection can be marvelous.
For this knife build, I wanted to make something a bit more fancy. I ordered a D2 knife blank from Jantz Knifemaking as I wanted a blade that would be robust with a fine balance between toughness and edge retention.
Materials Used:
- Jantz D2 Blade
- Mosaic Pins
- Rosewood Scales
- 2-Ton Epoxy
- Belt Sander
- Hand Drill and Drill Bits
- A saw or scroll saw
- Clamps
- Paper cups and Mixing Sticks
- Boiled Linseed oil
Knife Build: Selecting the Materials
This knife is going to my wife’s grandfather. He’s a proud, hard man of Russian origin and a pilot in a previous life. Having immigrated in his later years, he never fully took on a fluency in English. His demeanor is robust, silly, and stern.
While he and I don’t fully speak the same language, he enjoys his time outdoors fishing and gardening. That’s a good enough form of communication for me.
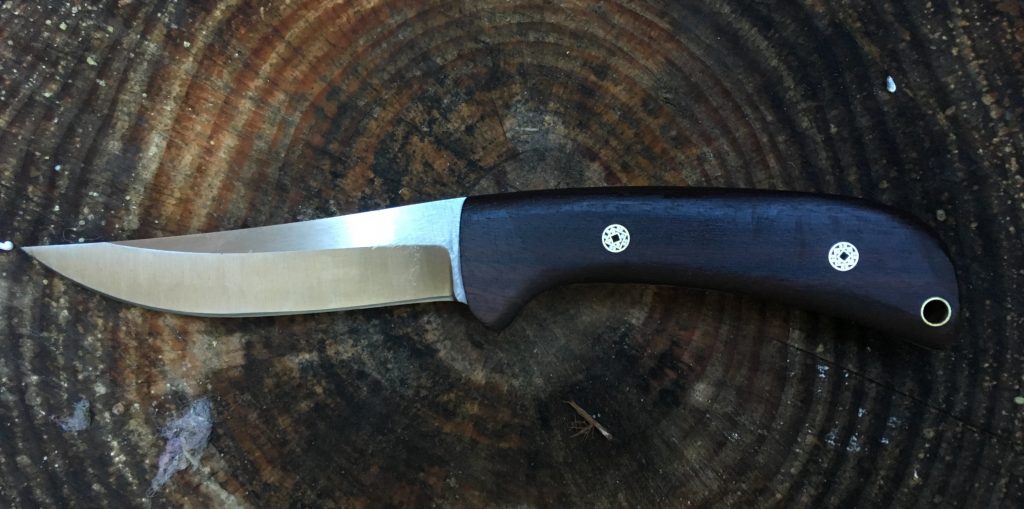
I’m choosing to rehandle a knife that’s made of D2 steel, over 4-inches in cutting edge, and dress it with rosewood and mosaic pins. Frankly, I wanted to make a traditional looking knife that one would admire with pride. The elegance of rosewood against polished brass is timeless and the mosaic pins will make this an heirloom piece.
I couldn’t think of a better person to gift this to than my in-law grand pappy.
Stabilizing the Scales with a Brake Booster
After selecting the blade and materials to rehandle the knife with, the first thing I did was impregnate the rosewood with acrylic. Supposedly, Rosewood doesn’t take on a stabilization too well. I don’t subscribe to that too closely. I just want to harden up the wood enough to avoid scratches down the line.
I’ll write a full article on this later.
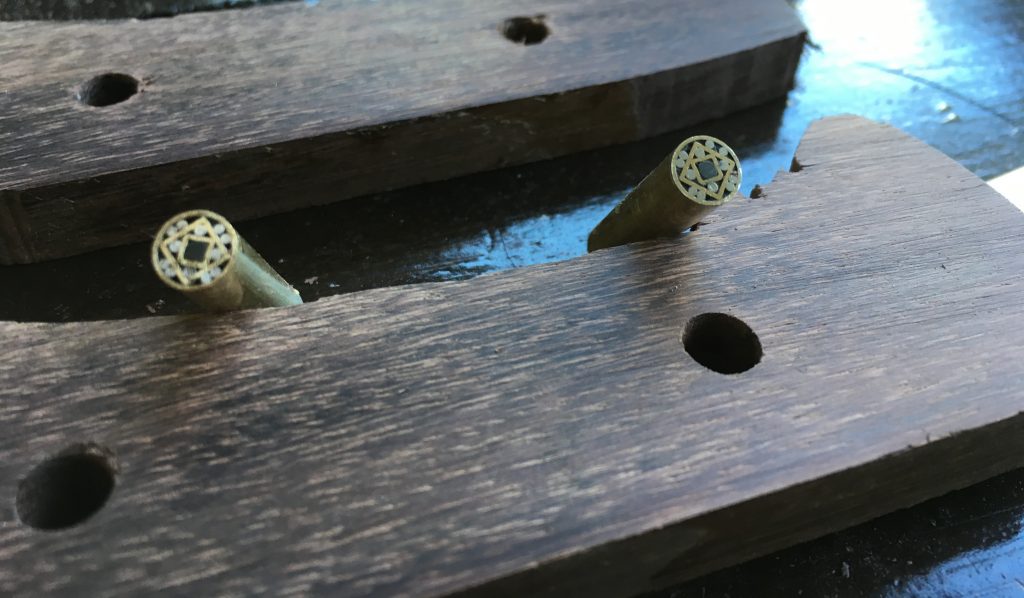
Get the Pins Ready
Once the rough shape of the scales are cut, get the pins ready to size. I used the same saw to roughly cut the length of mosaic pins I’ll be using for this build.
Mosaic pins are expensive, so make sure to measure the correct amount of pin you’ll be using. I do this by laying the blade on both scales, then marking the height of the pin to guide the cut.
Once the pins are cut to length, drill.
Drill the Holes
The secret here is one scale at a time, then using the guides as appropriate. My technique with a hand drill is to use the blade as guides on where to drill.
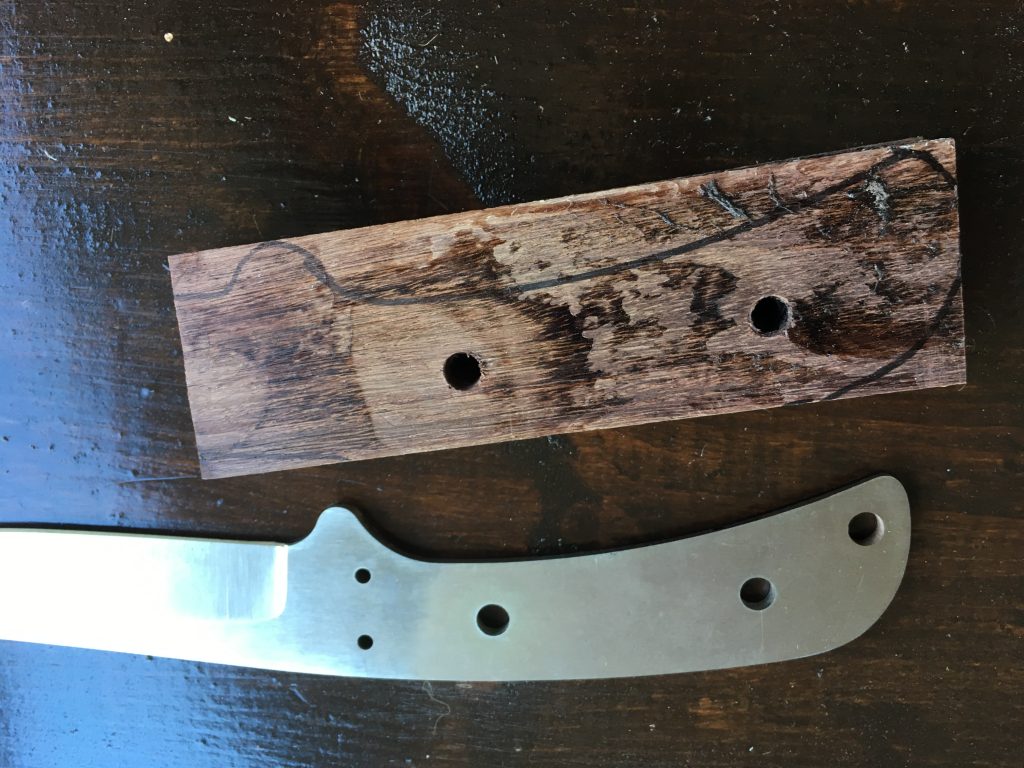
First, place one scale on a block of spare wood you don’t mind putting holes into. Second, place the knife blank on where you want to drill. By using the knife blank as a guide, place a hole into the scale.
After, place a pin in the hole you just made. This will help line up the next drill hole. Rinse and repeat until you have two pins and a lanyard pin in there.
Once one scale is done, do the same for the other side, but use your initial scale (with holes) as another guide. This order from the bottom up should be: scrap wood, scale without-holes, blade blank, scale with holes as a guide. Keep the guide scale pinned where you are not drilling.
Getting the Rough Shape
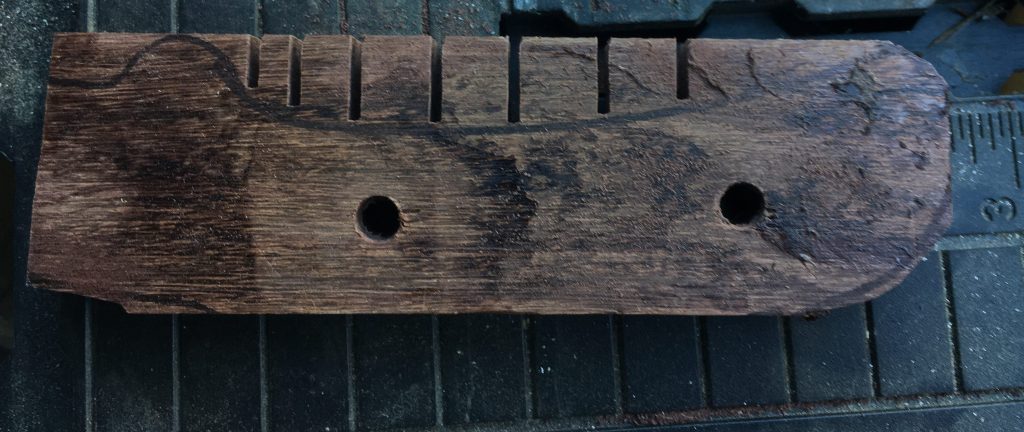
Planning out where to remove material is critical. After selecting the grain to be exposed on the knife handle, I traced the handle along the areas to be cut.
I’ve seen other knife makers glue on the rectangle shaped scales and take to a belt sander, but I’m looking to short cut some time.
Using my Rockwell Blade Runner saw, I started cutting the rough shape. Remember to always cut over sized, as you can’t put material back on. I cut outside of my thick pen marks.
Using this cutting pattern on a saw helps to accurately cut the material away.
Epoxy on the Knife Scales
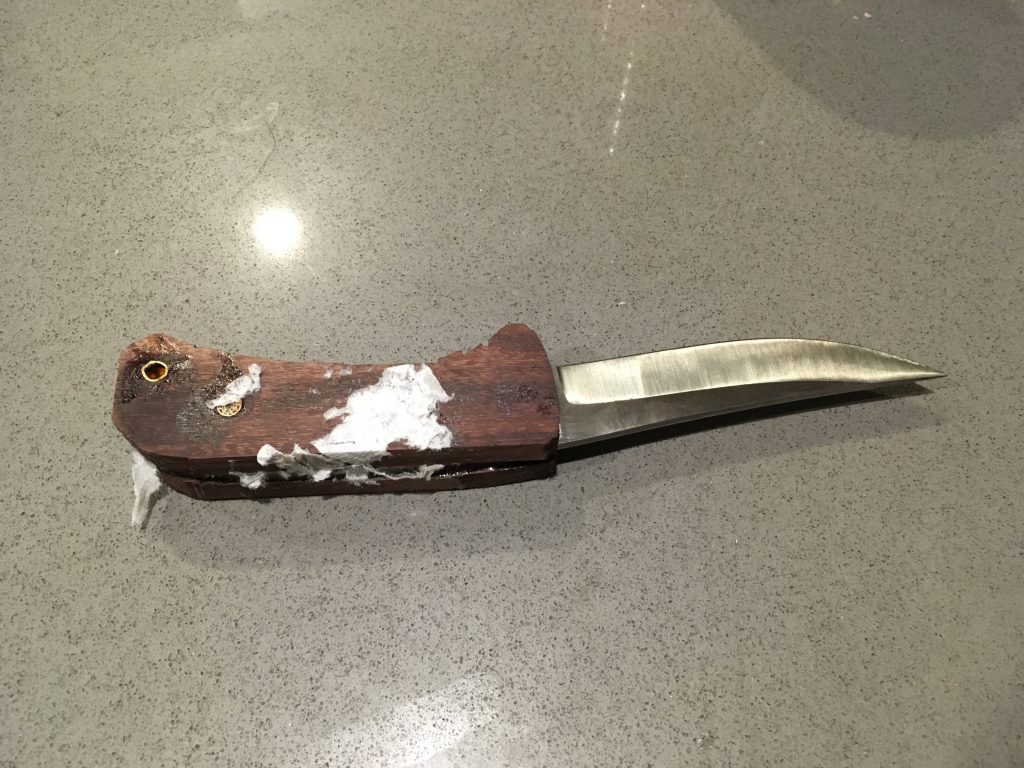
Make sure everything fits without epoxy. It would be at tragedy to have epoxy curing in open air when things don’t fit together.
Once all the materials are ready and test fitted, it’s time to mix the 2-ton epoxy. You can mix equal parts on a sheet of paper or something, but I like to use paper cups.
Coat the pins, scales, and blade thoroughly and clamp them all together. I like to wrap the entire assembly in a paper towel to avoid my clamps from getting too much residue on them.
Sand to Shape
After ~8-24 hours, the epoxy should be fully cured.
It isn’t that hard to rehandle a knife, right?
This is where the work comes in. Without a belt sander, the work will be tedious, but possible. A cheap belt sander will make this project so much easier.
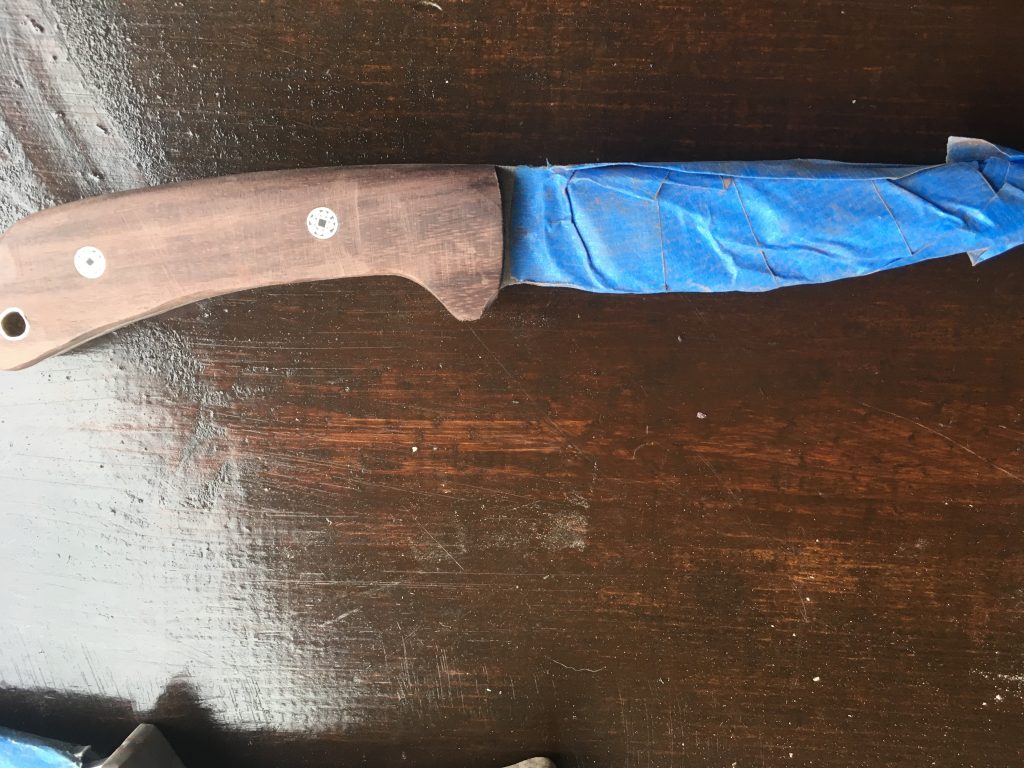
Shape the handle with a belt sander or sand paper and get the handle down to size. You’ll want to progress from 80-grit to start, down to 400-grit or so.
Finish with Linseed Oil
I like to use linseed oil to finish when I rehandle a knife. Linseed oil has a tendency to penetrate a bit and harden the surface area of the wood. This helps resists scratches and things you may be worried about.
That’s all there is to it. Happy building!
-
 Bushcraft Hat$35.00
 -
Stay Sharp Wolf T-Shirt$35.00
-
Hack Outdoors Pocket Knife Dad Hat$35.00
-
American Knife Maker Sweatshirt$45.00
-
American Knife Maker T-Shirt$35.00