DIY Backyard Paint Can Forge for Under $10
Last updated on May 5th, 2019 at 11:25 pm
Let me start off by saying that I’ve only made custom handles for knives. In order to start making knives from scratch, I need a forge. My goal of making this forge was to do it for under $10. As I owned some of the tools already, I was able to keep costs down on my paint can forge. Along the way, I found out that this cost me way more than $20 after trials and errors during my attempt to heat treat high carbon steel. I do, however, believe that this could have been built for much cheaper.
Materials:
- 1 Gallon Paint Can
- Plaster of Paris
- Sand (FREE)
- Hardware for Legs (Which I don’t use)
- 3/4-inch pipe
- A Cheap Hairdryer
- Duct tape
- A step drill bit, or a 3/4-in drill bit if you have it
Here’s my receipt for the materials for my paint can forge which came in under $20. However, the core components to this are the paint can and the plaster of paris which came out to under $10.
Building the Paint Can Forge
Start off by using the step drill bit and a power drill to start a hole in the paint can itself and make sure the pipe fits. I’ve read that putting the pipe in at an angle towards the top helps retain heat when using this forge as a propane forge.
The goal is to position the pipe as a channel that gets as close to center as possible. In the next step, we will mix the plaster of paris, sand, and water and pour the mixture into the paint can forge while using a different can or bottle to create the negative space.
Mixing and Setting the Refractory Materials
Plaster of paris and sand will mix in a 1:1 ratio. Because sand is free, I didn’t count it as a cost. Before mixing, make sure everything is prepped for the paint can forge.
Check list:
- Paint can forge is drilled with a 3/4 hole
- 3/4 pipe is fitted into the center where an imaginary interior can (like wd-40) will sit
- Duct tape is sealing the pipe and the hole
- You have an empty can of wd-40 that will sit in the center of the paint can to imprint the space
Start mixing the sand and plaster of paris in a separate container. I used a plastic cup to measure out the plaster of paris and sand 1:1.
For my mix, I added about 3 cups of water, and started mixing. It will feel like too much water has been added but the plaster quickly cements. Continue mixing the solution without letting it rest.
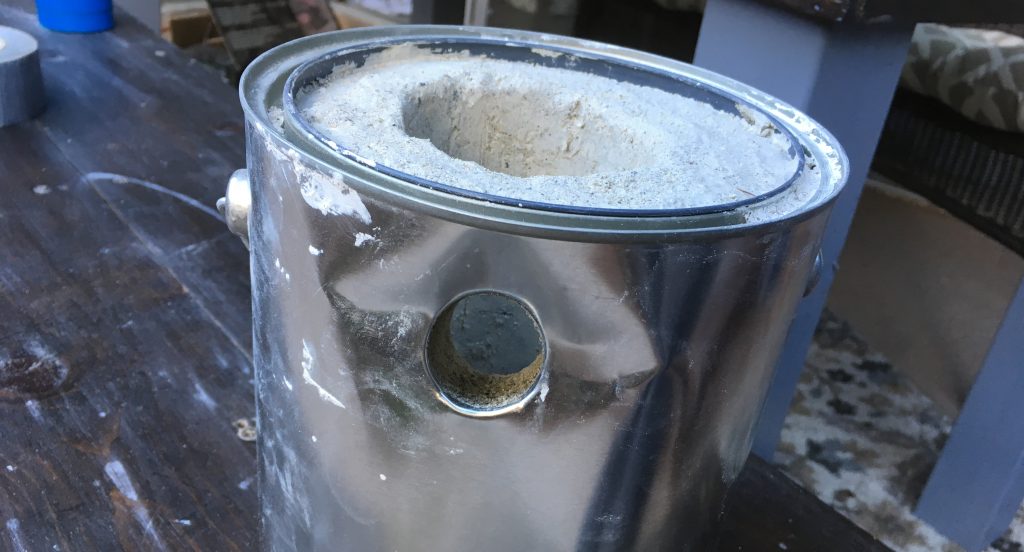
When fully mixed and in watery solution, pour the solution into the paint can forge while holding the can of wd-40 down to about 1-inch above the base of the paint can. The solution will quickly cement. As the solution starts to harden, turn the can of wd-40 so that it doesn’t become stuck. Do the same with the pipe, but give that a little more time.
While still wet but holding shape, you should be able to pull out the can of wd-40 leaving an imprint with a channel that goes to the center.
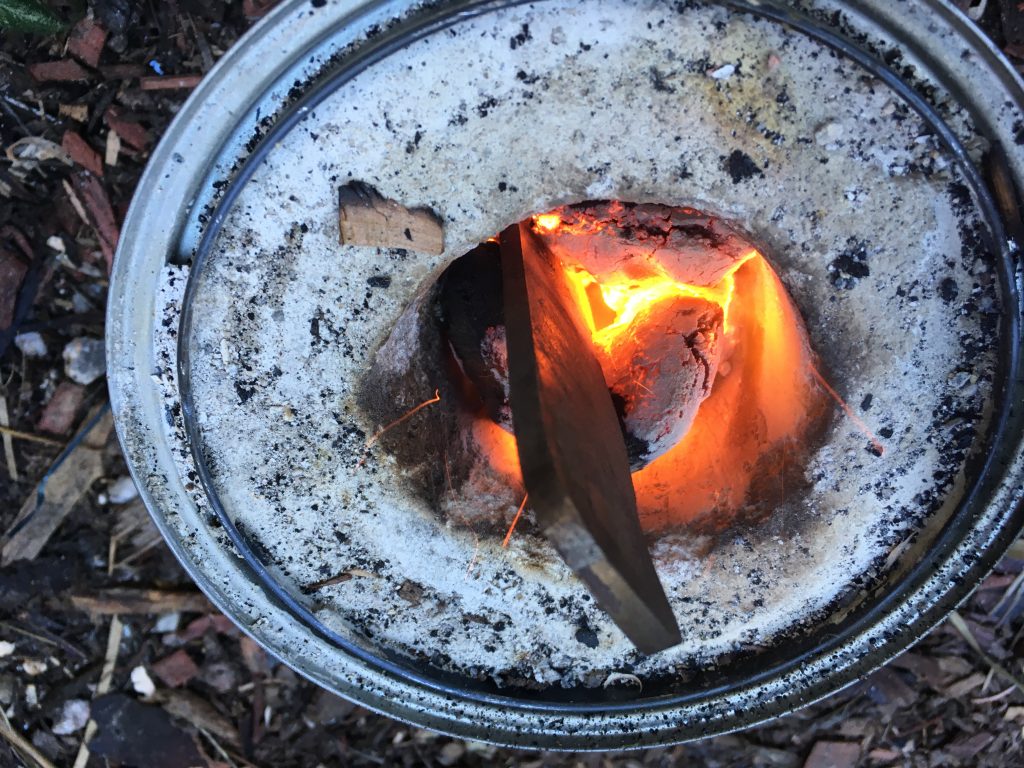
That’s all there is to it. This paint can forge is ready to use with a propane torch and burner. However, I’ll be using charcoal as I couldn’t find success with a propane tank.
-
 Bushcraft Hat$35.00
 -
Stay Sharp Wolf T-Shirt$35.00
-
Hack Outdoors Pocket Knife Dad Hat$35.00
-
American Knife Maker Sweatshirt$45.00
-
American Knife Maker T-Shirt$35.00