
How To Build a Mountain Ebike on a Budget
You want an ebike that can take you up the steepest inclines and around the tightest bends, but you don’t want to spend thousands of dollars on one. Maybe you want to go deeper into a trail than ever before by bikepacking to remote wilderness. Building an electric bike from scratch can be quite a daunting task, but it doesn’t have to be if you do some research before hand. I ran into a few snags on my build that could have been easily avoidable had I known about them. Here are five tips to help you make your own mountain ebike on a budget while getting more smiles per mile than buying one off the shelf.
Getting Started: Used Mountain Bikes as an eMTB Platform
The best way to get started building an ebike is by buying a used bike with good parts. While most things may not be a sum of their parts, mountain bikes may very well be. A good mountain bike with a good components and a good motor kit will be better and less expensive than buying a cheap ebike marketed for the mountains.
Scour Facebook Marketplace and Offerup for used mountain bikes. If you’re building an electric bike for off-road use, then you’ll want to have a suspension fork, disc brakes, suitable tires, and wide handlebars. I’m more comfortable with brand name components like Shimano and Sram to build into your eMTB.
A hardtail will be the preferred bike for my first important tip. Full suspension bikes will clutter the space and may not be suitable donor bikes to turn into a mountain eBike.
Tip #1: Make sure your frame can fit a battery. Measure the dimensions and plan how you’ll mount your battery
After I bought all of my components to convert my mountain bike into an ebike, I realized that my battery didn’t fit between the top and bottom tubes of my bike frame. While I could have tapped rivet nuts (or rivnuts) on my top tube, the preferred mountain location for weight is lower and center.
If you plan on riding trails regularly then make sure your bike has suspension forks because they will soak up bumps in the trail so that your arms don’t take as much of a beating. Your priority should be hydraulic disc brakes because they work better in wet conditions where mechanical disc brakes fail.
Mid-Drive vs Hub-Drive for a Mountain eBike
Which is better? The terms mid drive and hub drive are used often when discussing electric bicycles, but what do they mean? Which type of bike is better for your needs: mid-drive or hub-drive?
Mid-drive motors are better than hub-drive motors for mountain trails and hills. Hub drives have some advantages over mid drives in certain situations (they’re less expensive), but if you’re looking to ride up steep mountains or hills with frequent gear changes, then a mid drive motor will be more reliable. They generate less heat than hub-drive motors and because they operate at the crank of your bike, are able to take advantage of your bike’s gearing.
A hub motor has only one gear ratio and it cannot change gears like a human rider can. If you’re riding up steep terrain, then you’ll need lots of different gear ratios at your disposal. Mid drives have multiple gears so that you can shift as needed while climbing.
Tip #2: Buy a mid-drive kit like the Bafang 750w BBS02B if you plan on climbing hills
Parts and Tools You’ll Need for a Budget DIY eBike
Building an emtb bike requires some basic tools that you can easily get at your local hardware store or via Amazon. First step is to put together your ebike kit. Many come with tools, harnesses, and computers. Take inventory between my links below and extra tools I used, as the kit I bought came with some things like a crank removal tool.
Parts You’ll Need
- Used Mountain Bike with decent components (I found mine on Facebook)
- Bafang BBS02B (750w) mid-drive kit or similar (this comes with a modern crank removal tool)
- 48V or 52V Battery Pack (I went with a 52v 14ah pack from UPP)
Tools You’ll Need
The tools I’ve linked are things I use personally. I really like Tekton as a budget brand that sits at an entry-level price and is of decent quality. Your mileage may vary.
- Crank Removal Tool
- Chain Breaker Bike Tool, or Master Link
- Screwdrivers
- Allen Key Set
- Wire snips
- Wire fittings (I only needed these for the battery connectors)
- Zip Ties
Tip #3: Figure out what you’ll need to remove your crank. My more modern bike had a crank that used the crank removal tool in my mid-drive kit.
How Long Does it Take to Build a Mountain EBike?
All the parts to make my mountain ebike are listed above. It’s pretty straight forward and simple to build if you have all the right tools. The Bafang Kit came with two specialty tools that helped me remove my crank and tighten the new lock nuts. If I had an older crankset, I would have needed to order the proper wrenches to remove my crank. Luckily, this is not a commuter bike and I could afford the downtime.
Tip #4: Budget downtime in case you are missing a specialty tool and need to order one
Being that I did have all the specialty tools and am reasonable with a wrench, this build took me about 90-minutes from start to finish.
How Much Does a Budget Mountain EBike Build Cost?
Buying an off-the-shelf ebike that is made for the mountains can range from $1600+ as of this writing. Unfortunately, even with that big ticket price, the bike components are usually sub-par and the motors are usually hub-drive. As we covered, hub-drive motors aren’t great for hills, are less efficient, and build heat more quickly. You can build a replica of a $1600 hub-drive bike for around $700.
How much does this budget mid-drive mountain ebike build cost? Great question. Here’s what it took to get started. There are four main parts to any ebike: donor bike, motor/controller unit, battery pack, and throttle/display unit. The price of each part varies greatly depending on what type of components you want.
Tip #5: Buy a mid-drive kit with extras. You’ll save money compared to buying them separately.
My build all-in was about $1000, including the price of a used bike which I paid $300 for. I opted to go with the 500C controller as part of the Bafang mid-drive kit option that was a nice balance between budget and capability. I splurged on a pricier battery that cost about $350.
Final thoughts
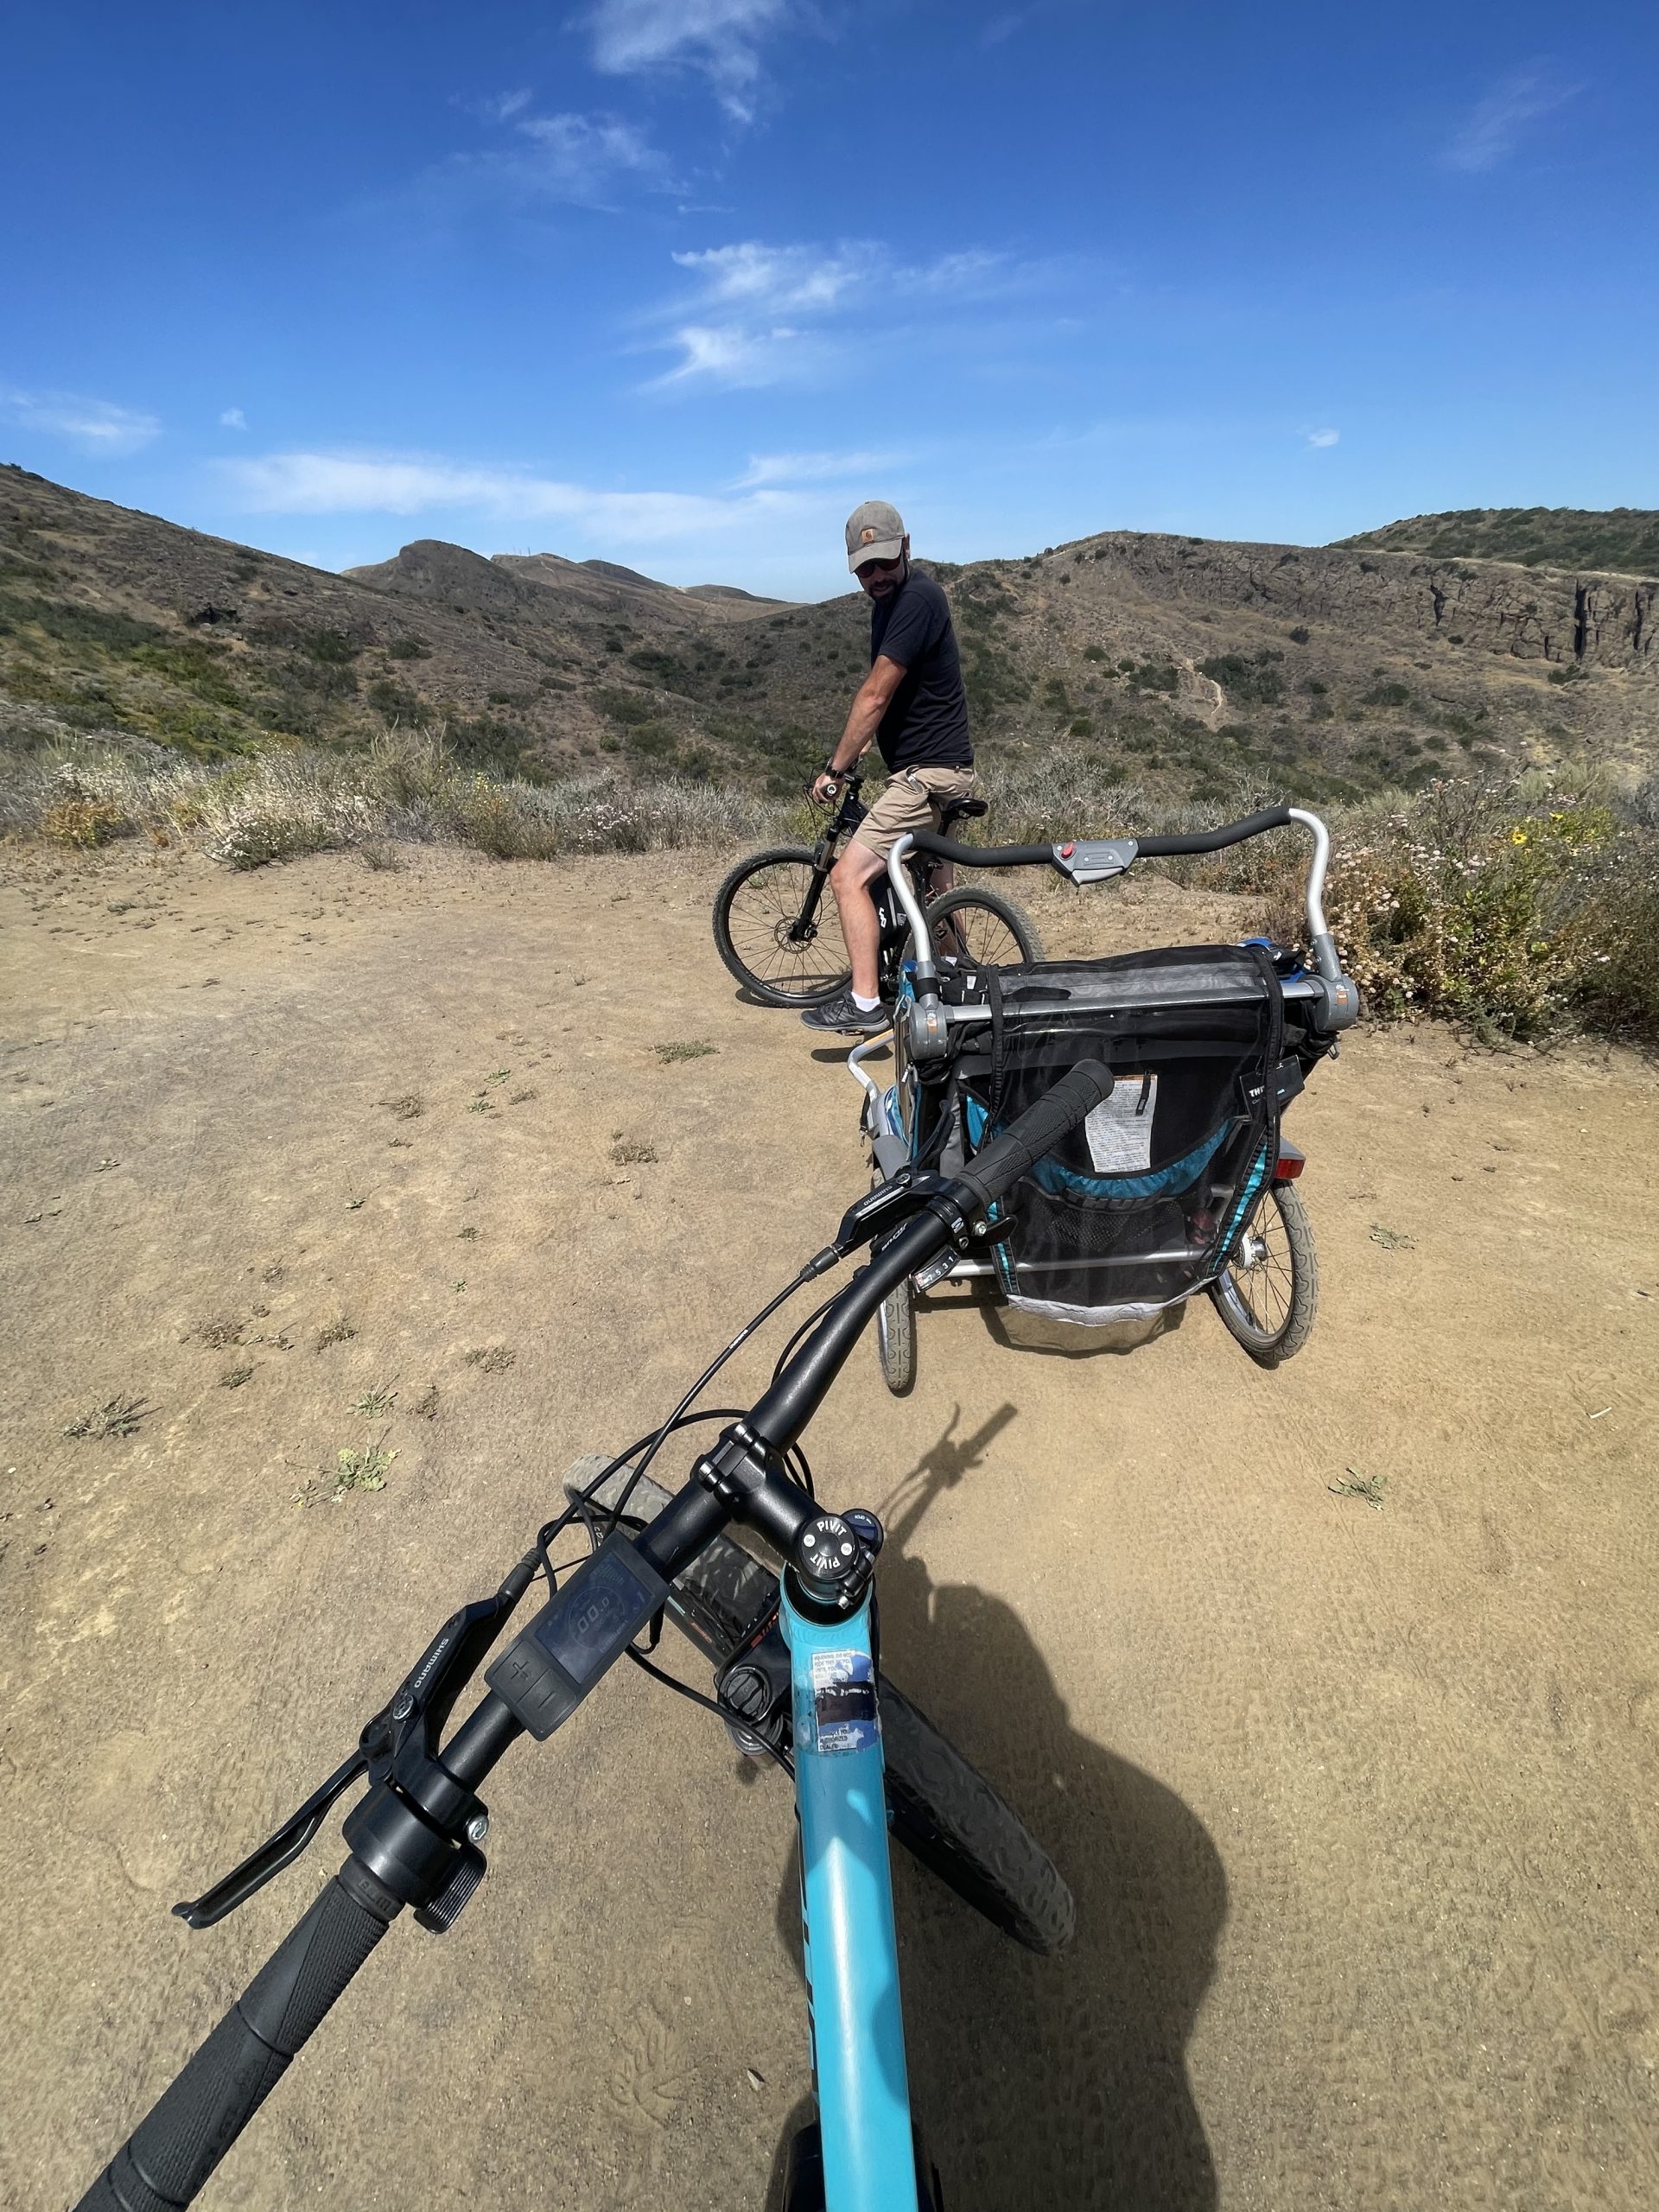
If you’re handy with a wrench and want to build an ebike that is durable enough for the backcountry, this is the way to go. Mike and I built our bikes to go deeper into gated roads for hunting. Going 20-miles into the backcountry requires some confidence in your bike to be able to get you in and more importantly, get you back out. Because of this, we opted to build our own.
Compared to the cost of a hub-drive off-the-shelf mountain ebike, you can build yours with higher quality parts for a portion of the price. Further, if something should break on you, you’ll know how to fix it. That’s priceless.