
How to Waterproof a Cheap Wet Suit
Waterproofing a cheap wet suit can turn a $40 wet suit into something reasonably useful. The problem with lower end wet suits isn’t that the neoprene fabric itself isn’t waterproof, but more likely, the quality of stitching and ability to keep cold water out. With a bit of ingenuity, you can greatly improve the ability of a cheap wetsuit to keep water out. However, it may not be as nice against the skin as a nicer wetsuit.
For this DIY, I’ll be focusing more on closed-cell neoprene, as that is the material that is more widely available and cheaper. Open-cell neoprene is usually found in higher-cost wet suits, so waterproofing shouldn’t be a concern.
Generally, closed cell neoprene is already “waterproof” as a material. Cold water will enter a lower-end wet suit through the neck, cuffs, zipper, or stitching. If we focus on these areas with a sealing material, this will greatly improve the ability to retain warmth in the suit while keeping the cold out.
Firstly, a suit that doesn’t fit correctly will not keep water out. A neoprene suit should fit like a second skin and not have pockets of air while moving around on your body.
Secondly, this is a simple solution to the main reasons why a wet suit will leak. It will probably ruin a warranty, but remember, the goal here is to improve the performance of an inexpensive wet suit. Do so by your own risk and reap the reward. This will be a general guide on how to waterproof a cheap wet suit.
Materials:
Step 1:
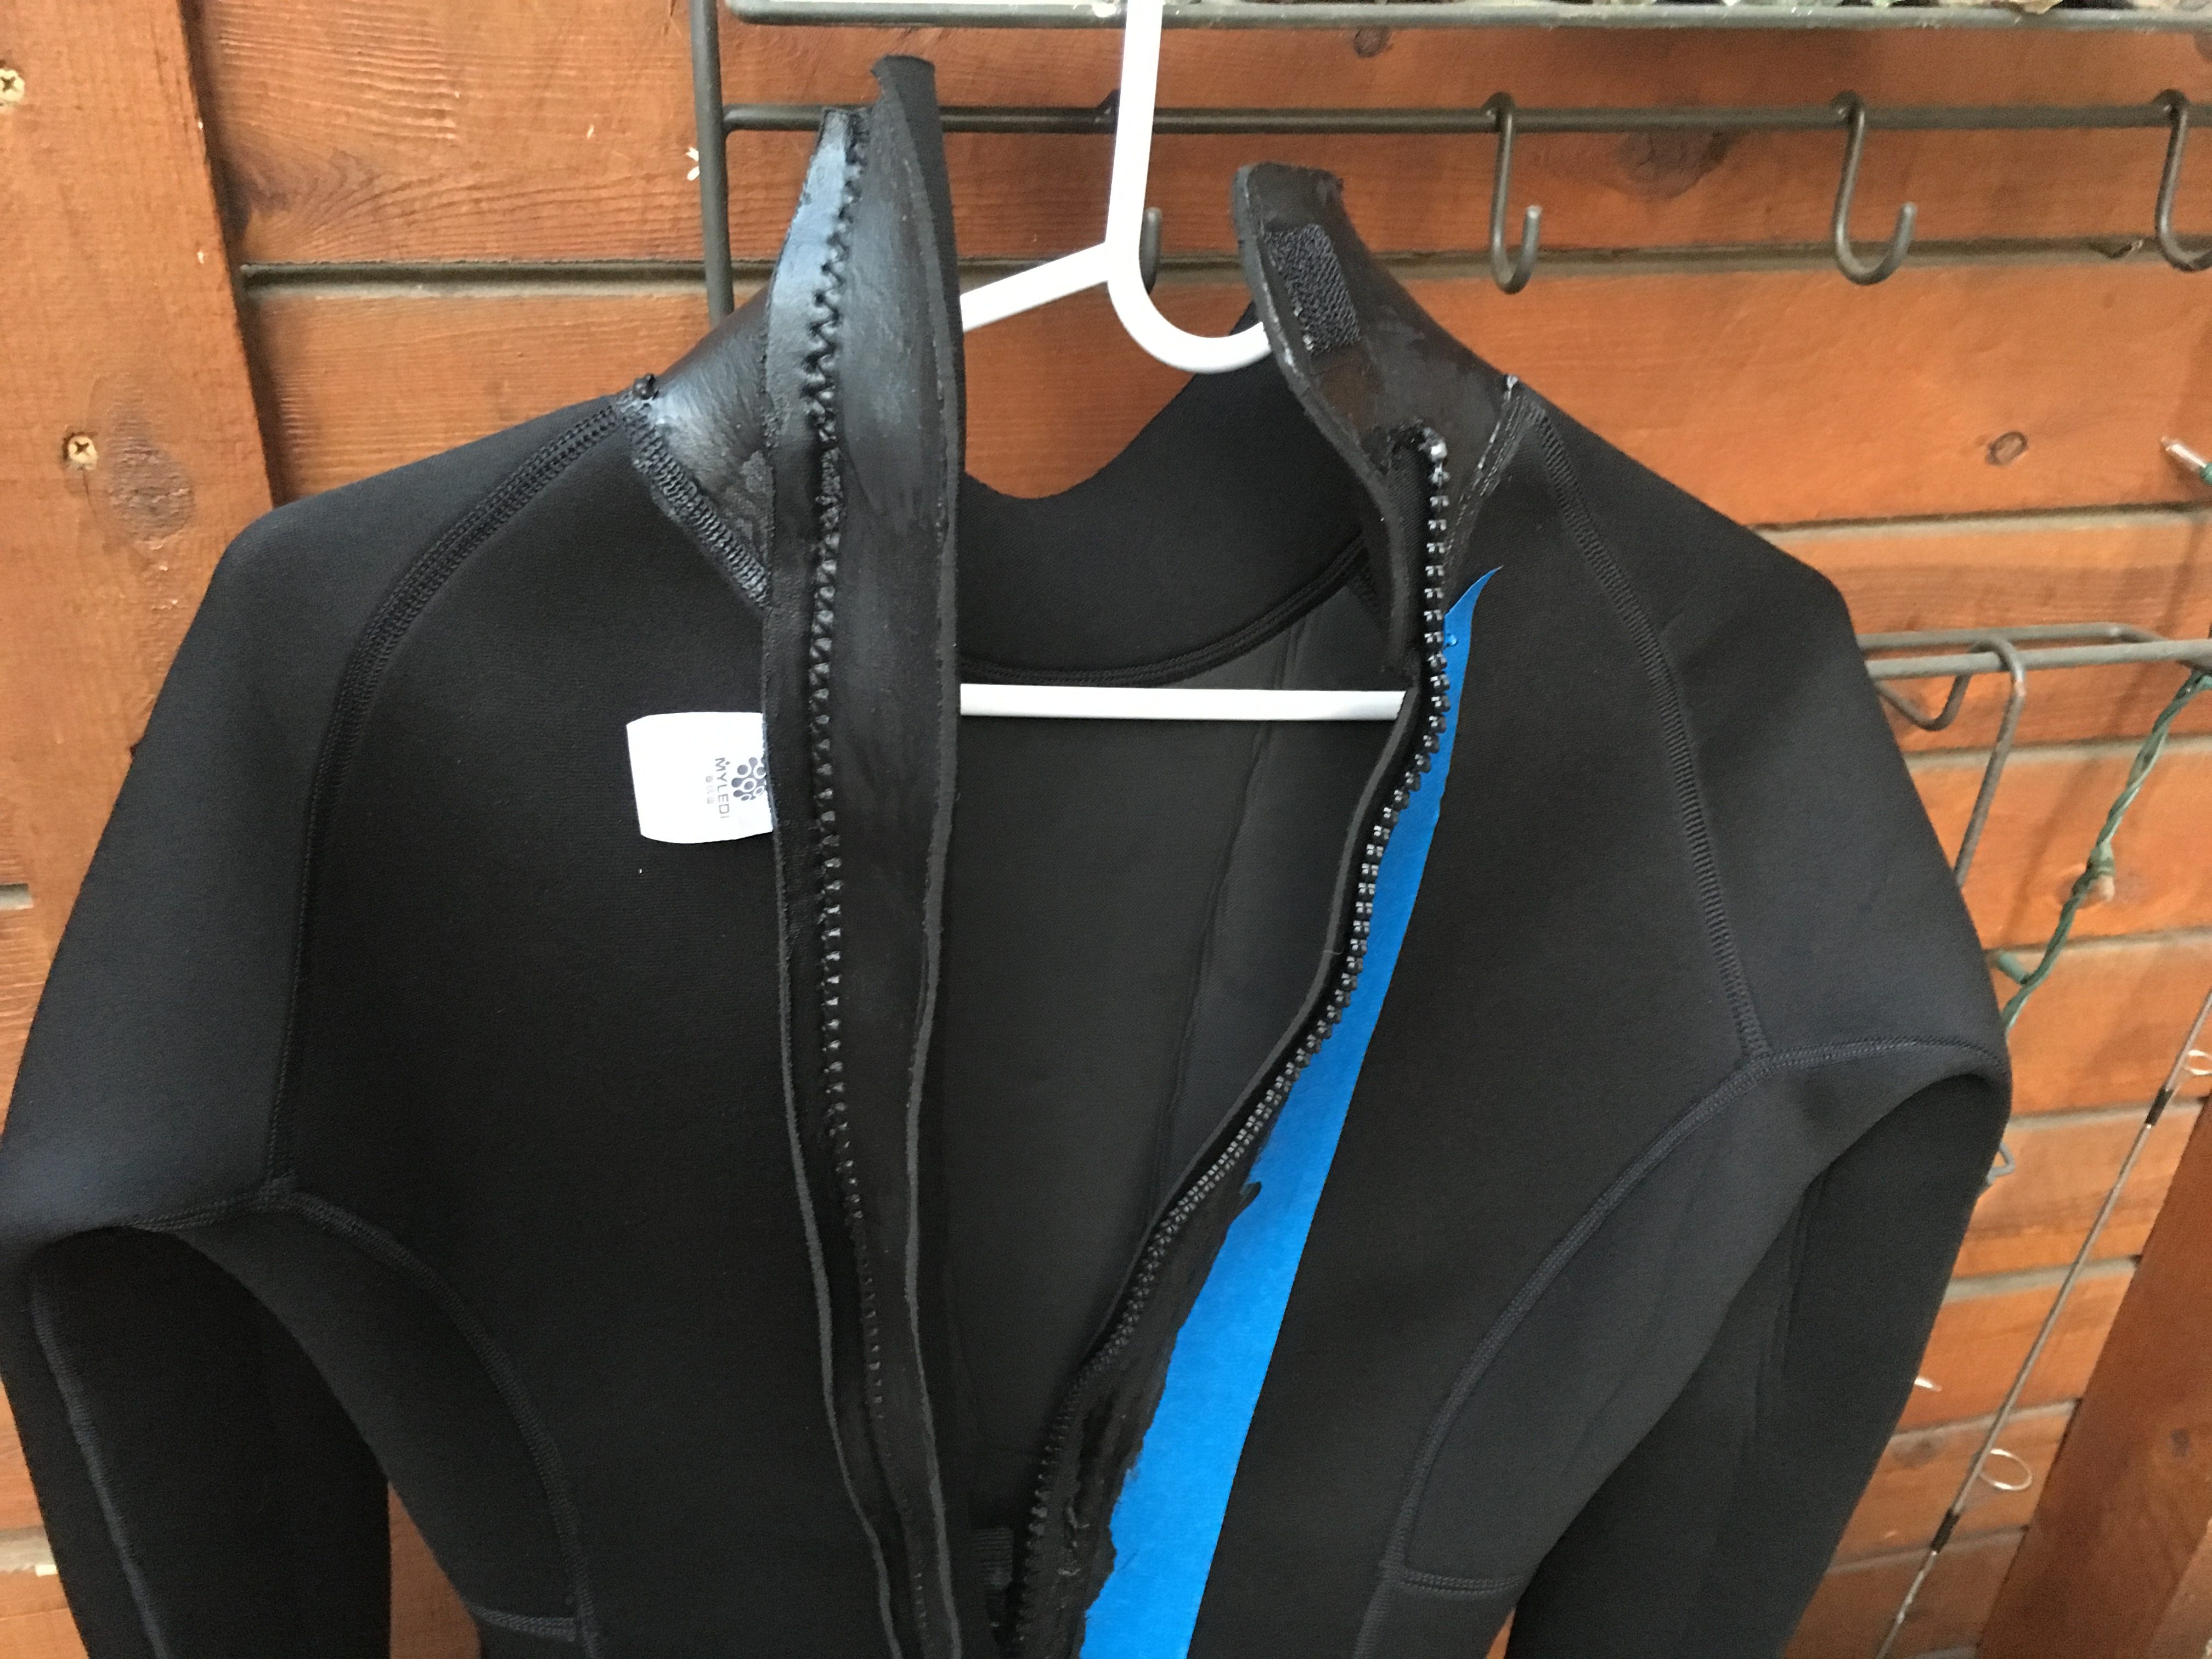
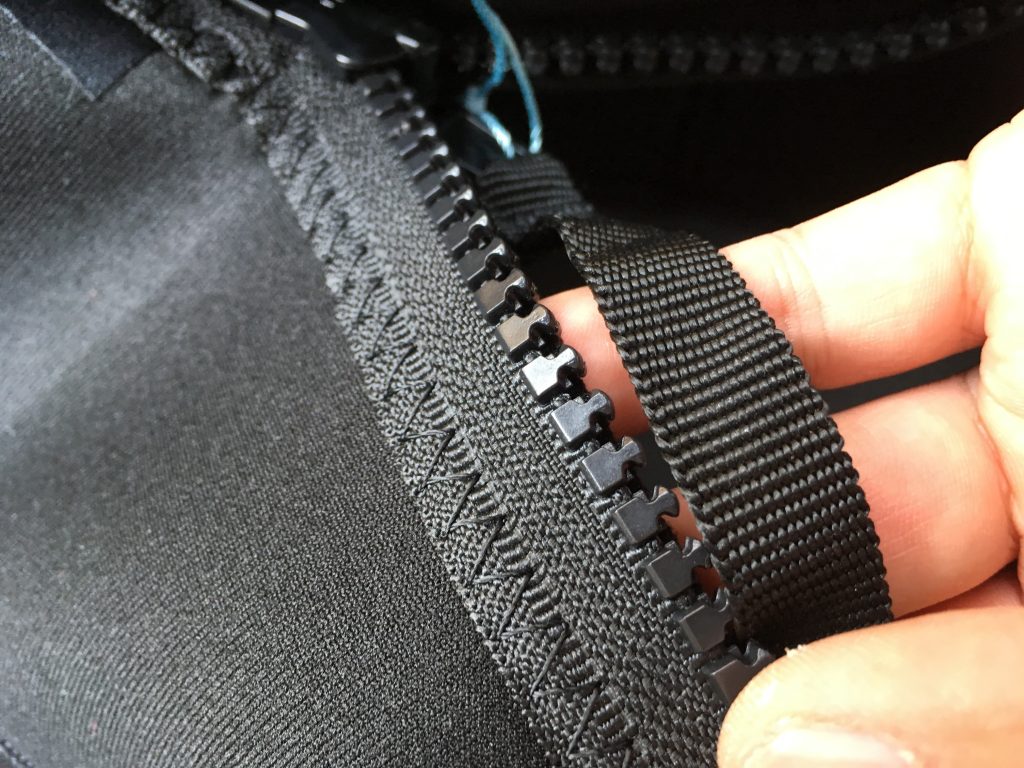
Flip the wet suit inside out and identify the areas that are suspected to leak, or leak from experience
Step 2:
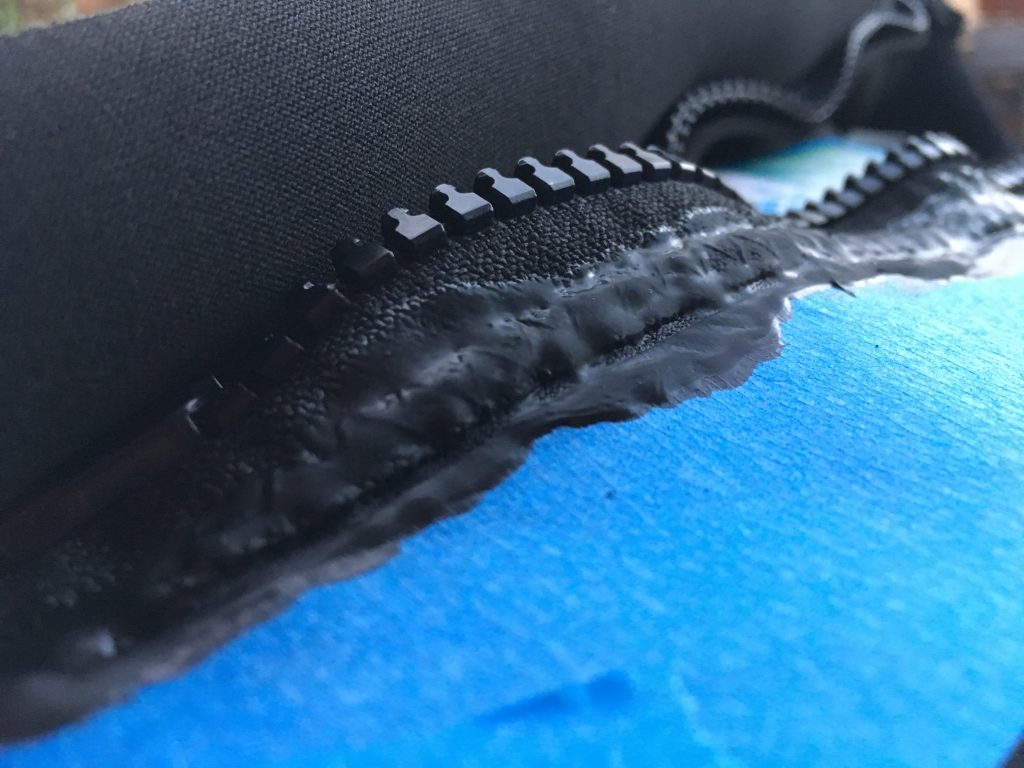
With the painter’s tape, mask off areas of suspect such as the neck (optional)
Step 3:
Apply the Neoprene rubber cement within the areas between the tape. This will act as a seal to help keep water out. I would do 2-3 layers of this and build enough to act as a proper seal. Let dry completely.
Step 4:
Identify the seams of the wet suit and tape around those. You can choose to seal the inside of the seam for a more clean look, but this can risk chaffing within the suit. The recommended approach would be to seal the outside seams within a tape masked off area to retain a professional look.
Step 5:
Repeat the application of rubber cement on the suspect seams of the wet suit. 1 to 2 layers will suffice. Also let dry completely.
Step 6:
Try it out!
Tool dip on Wetsuit Neck
In my experience, the plasti dip tightens the fibers of the neck area to the point of discomfort, but can be stretched again for decent comfort. I was able to take this into the water and test it out, and it did indeed create a seal. I ended up needing to let water in a few times to cool me off. If I were to do it again, I’d go much lighter on the neck area, or only focus on the rear neck near the zipper.
I’d suggest using less seal around the neck area and focus more on waterproofing the back area of the cheap wetsuit.
About Author
