
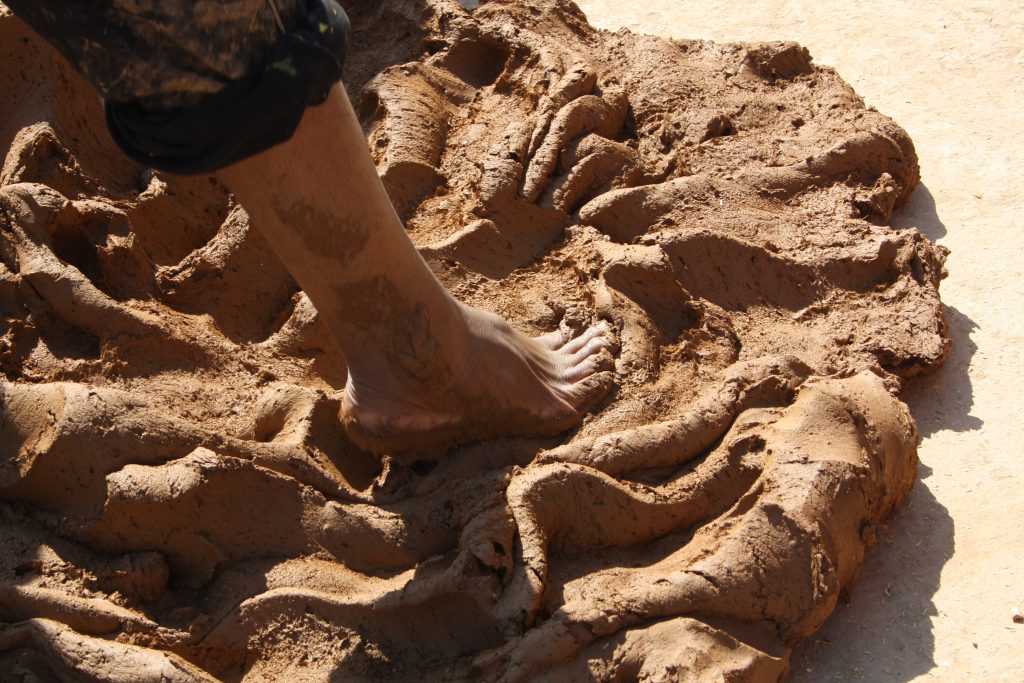
primitive clay mixing
Primitive Clay: From Dirt and Mud to Clay
I’ll admit that I’m not too deep into pottery and have never been a clay thrower. I think that the last time I made something out of clay was in elementary school. After looking into the history of clay, I’ve taken on a small interest in primitive clay.
Clay, as a concept, is interesting to me. Turning something as invaluable as dirt into something as valuable as a ceramic pot might as well be alchemy. It’s no wonder that clay takes its place so often in religious stories of creation. The Greeks, Sumerians, Egyptians, Babylonians, Native Americans, Chinese… almost everyone has a creation story involving clay. DC’s Wonder Woman was made from clay.
Gathering Mud Clay
There’s an easy way and a less-easy way to do this.
The easy way is to find a river bank and source material from a deposit that is mostly clay. I won’t get into the specific compositions of clay, but basically, look for the dense mud sticky mud stuff that isn’t silt.
This is the easy way that requires less processing. Take this stuff, pick out the rocks, sand and stems, and start working it by hand.
How to Make Clay with Dirt
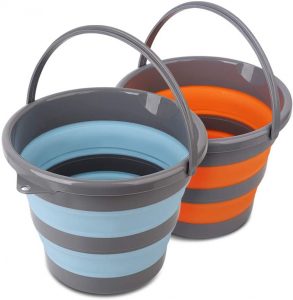
The less-easy way is using water to suspend clay and filter out the non-clay material. Using a bucket full of dirt that potentially has clay, break up the material within the water to create a mud soup. Once all material in the solution is mixed, stir vigorously and let sit for a few seconds and while the clay is still suspended in water, transfer the water-clay-organic solution into another bucket while keeping the rocks and sand in the first bucket. Empty this stuff into your garden.
In the second bucket full of solution, do stir again and pour into the initial bucket but this time, with a strainer.
You should have collected the floating material and thrown it out at this point.
The final step to get the clay from water is to let this solution sit. Periodically, remove the top layer of water as the clay settles to the bottom of the solution. Once you’re tired of waiting for the water to show itself, you can strain the water through a rag to collect the clay particles. There you have it – clay!
Working Primitive Clay
Now that you have clay (easy, right?), working it to see if it is a viable candidate for ceramics should be easy enough.
Roll a section of clay out like a rope. If you can tie the rope of clay into a knot without it breaking, it should hold under working and firing.
You can make sections of joined-rope and stack them on one another to create a cylinder with a base. Wetting your hands, smooth over the gaps until they look like walls on both the inside and the outside. We can call this a cup, or bowl, or pot.
While receptacles are probably the most useful thing, anything that we make from modern plastics can be made from clay.
Firing Clay
Things happen at various temperatures with clay. First, drying the clay in the sun is a good idea to let any easy moisture escape. You can also achieve this by putting the clay a foot or so distance from a fire and let the heat do the same job.
It’s very important to get as much moisture from the clay as possible before going in for the final firing, where chemically bonded water is separated out. If you don’t, there’s a good chance that cracks can develop. Worst case, trapped water steams and explodes your pot.
There is a science to separate the chemically bonded water from the clay and other sites may have more specific temperatures. For this purpose, we will say this happens at around a sustained time in 1112-degrees-F. However, our technique here won’t be incredibly accurate.
We’ll fire our creation in a bonfire.
Start by building a hardwood teepee around the clay pot and fill with other combustable organic material. Wood, tinder, kindling, etc. Burn this down as you would a normal fire and make sure the inside of the fire is glowing with embers. Enjoy the fire and have a beer.
Once the fire has burned down, carefully remove the clay pot. The sound when tapping it with a stick should be a ping versus a thud. Check all sides and if satisfied, you’ve made your first primitive clay pottery!
You can also use a DIY forge to achieve the same temperature.
-
 Bushcraft Hat$35.00
 -
Upland Hunting Hat$35.00
-
Tactical Wallet Stove$45.00
-
Stay Sharp Wolf T-Shirt$35.00
-
Hack Outdoors Pocket Knife Dad Hat$35.00
-
Hack Outdoors Camping Five Panel Cap$35.00
-
FEAR Survival: Fuck Everything and Run T-Shirt$35.00
-
Hack Outdoors American Treasure T-Shirt$35.00
-
Hack Outdoors Trout Fishing Trucker Cap$35.00


About Author
